


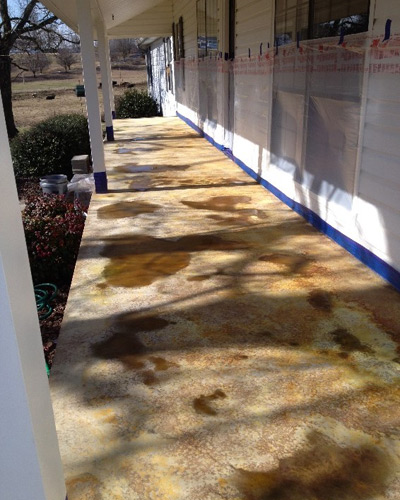
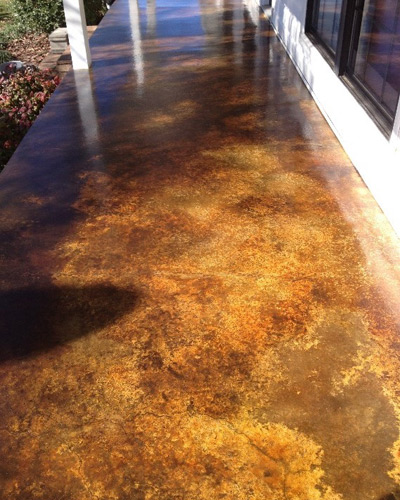
Reactive Acid Stain applied on a concrete floor can add a marbling look and a depth of color not available in other flooring products. It’s a great project for basements, converted garages, and even exterior concrete like porches and sidewalks. While it’s a time consuming project, it’s not out of the realm of most DIY’ers with proper planning. You can get as creative as you would like, but for this exercise we used 4 different colors of stain and cross sprayed them against each other to give a mottling effect. The lime deposits in the concrete react with the hydrochloric acid in the stain pulling out the different hues of a color, making the floor look like a piece of natural stone with different veins of color running throughout.
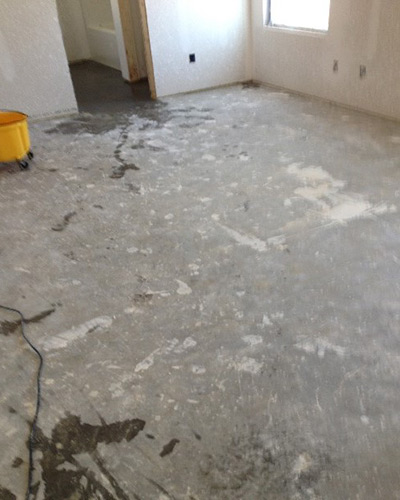
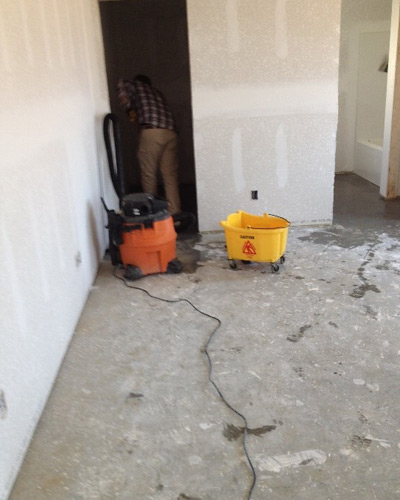
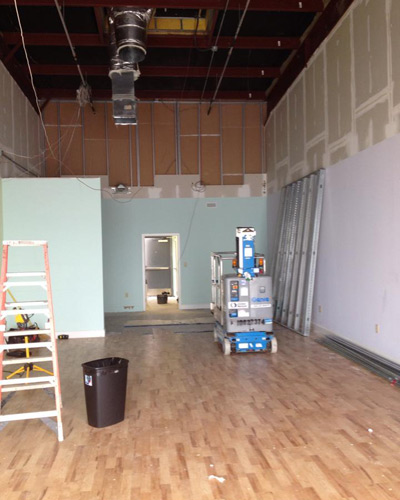
Before
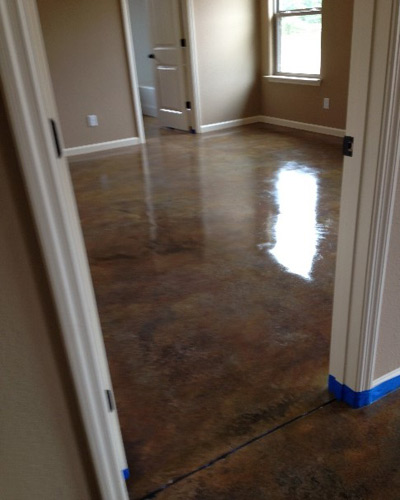
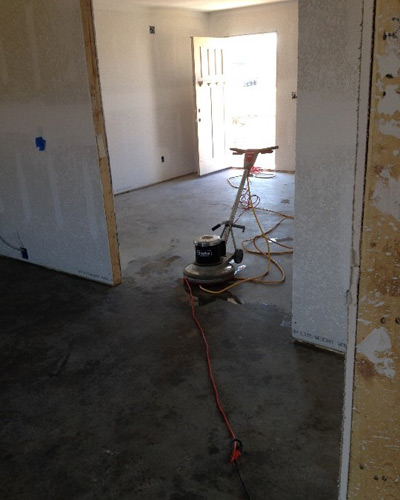
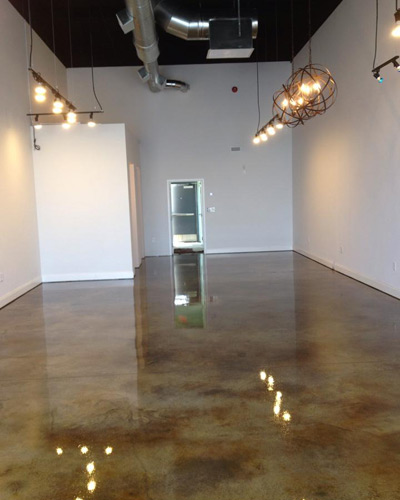
After
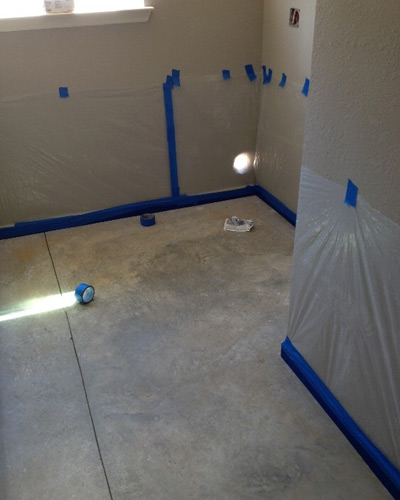
Before
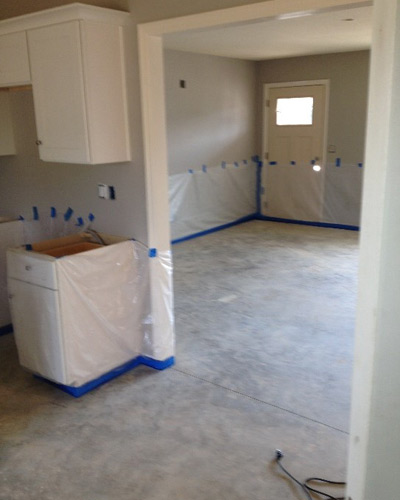
After
Materials Needed
- 2 Gallon Plastic Garden Sprayer with all plastic parts including wand
- Large Wet/Dry Vac
- Good quality blue painters tape
- Plastic Painters Sheeting
- High Speed Floor Polisher – found at most rental centers
- 2-3 Coarse Nylon Grit Scrubber Pads
- Acidic Cleaner
- TSP – Trisodium Phosphate
- Large Industrial Mop and Bucket
- Protective Eye Goggles
- Respirator
- Rubber Gloves
- Knee Pads
- Acid Stain
- Ammonia for neutralizing stain
- Sealer
Total Estimated Cost for Materials for approximately 1,000’: $450-$700 depending on type of sealer used
STEP 1. CHECK AND CLEAN CONCRETE
Check your concrete floor for visible contaminants like oil and grease stains, paint, caulk, or mastic left from an existing floor. For small paint, caulk, or spackling contaminants, we use a putty knife and a chemical paint stripper. For larger contaminated areas we use a high speed floor scrubber with an 80 grit sandpaper disk or occasionally diamond tip scrubber attachments if the floor is in bad shape.
Also check to see if the floor has a sealer on it, because if there is a sealer, the stain can’t penetrate the concrete. Take a spray bottle filled with water and check different areas of the floor to be stained. If the water beads up and doesn’t soak into the concrete, there is a sealer present which has to be removed. There are many products on the market for cleaning concrete and getting it ready for acid staining.
- Acidic Cleaners- gets rid of staining, dirt contaminations and other contaminants that can be broken down by the acid in the cleaner.
- Alkaline Cleaners- gets rid of oil, grease, and other hard to remove hydrocarbon based stains
- PH-Neutral Cleaners- A mild cleaner usually used indoors for already sealed floors without dirt contaminant
Once you have properly cleaned the floor, again check for contaminants because the floor has to be completely clean and free of all contaminants in order to properly accept the acid stain. This is the most important part of the project because if you miss any oil and grease stains, paint, mastic, or caulk, they will be highlighted and stick out like a sore thumb in your finished work.
STEP 2 – PREPPING BASEBOARDS AND WALLS
Take a good quality 3”-4” blue painters tape and tape the entire baseboard. Once the baseboard is taped, we use a 6’ wide plastic painters sheeting and overlap the baseboard and tape it again to ensure no stain seeps in and stains the baseboard or wall.
STEP 3 – APPLYING ACID STAIN
Once your floor is clean and dry, the fun part of the project begins. Dilute your stain with water with the following rates.
- Hand-trowelled floors – mix 1 part stain to 4 parts water
- Machine-trowelled floors – mix 1 part stain to 1 part water
Mix your stain in a 2 gallon plastic garden sprayer and it’s important to note that you pour the stain in the water instead of pouring water into the stain. This ensures proper mixture of the stain.
Hold the sprayer tip about 18” from the floor and start spraying with a figure 8 pattern until the area you want to spray is completely wet, but not puddling. In this step of the project we use 2 people spraying slightly different colors across each other’s spray pattern, which gives it the mottling or marbling effect. Once the 1st coat is dry, usually about 1 hour, apply 2nd coat and repeat the process until you’ve reached the color you desire. Let the stain sit for about 3-4 hours total so it has time to react with the concrete’s lime deposits. Neutralize the stain by mixing water and ammonia in your garden sprayer and spray the entire floor. Use a mop or fine bristle push broom to work in ammonia mixture and then vacuum up the residue. Then take clean water and mop the floor several more times until the floor is completely clean and free of all residue. It’s important to note, at this point in the project, it’s tough to know what the finished floor will look like without the sealer on it. The sealer will make the floor pop and greatly enhance the colors. To give you an idea of the finished look, you can wet a small area of the floor with water. If you’re happy with the color schemes, it’s important to let the floor dry completely before applying a sealer


STEP 4 – APPLYING SEALER
The 3 main type of concrete sealers used when staining concrete;
Acrylic Sealers – For both exterior and interior projects. Acrylics form a thin protective film on the concrete surface and are available in both water and solvent based. They are typically used when easy application and economy are important. They are available in many sheens and solvent based acrylics generally enhance colors greater than water based sealers. They provide good UV protection but are softer sealers, so several thin coats need to be applied, and yearly maintenance with a good floor polish will keep your floors looking good
Polyurethanes – For both exterior and interior projects where high foot traffic is present like restaurants and retail shops. Nearly twice as thick as acrylics and produce a very durable chemical and abrasive protective coating and are available in both water and solvent based formulas. Available in a range of sheens and finish is transparent and non-yellowing. The downside of Polyurethane sealers is they are more difficult to apply because of their quick dry time.
Epoxies – Usually limited to Indoor use due to non UV protection which may impart a yellowing effect if exposed to sun. Produce a hard long wearing abrasion resistant flooring, but most difficult top apply because most are two-component products mixed prior to application. On floors in high-traffic areas, Cement-based overlays, and Concrete countertops.
While using Acid Stain on concrete is a fun and rewarding project, it can be a bit overwhelming at time, so a great resource for tips and more in-depth information can be found via the internet at The Concrete Network.